My Avatars

Facebook Badge

followers

Popular Posts


Thursday, April 26, 2012
Emo
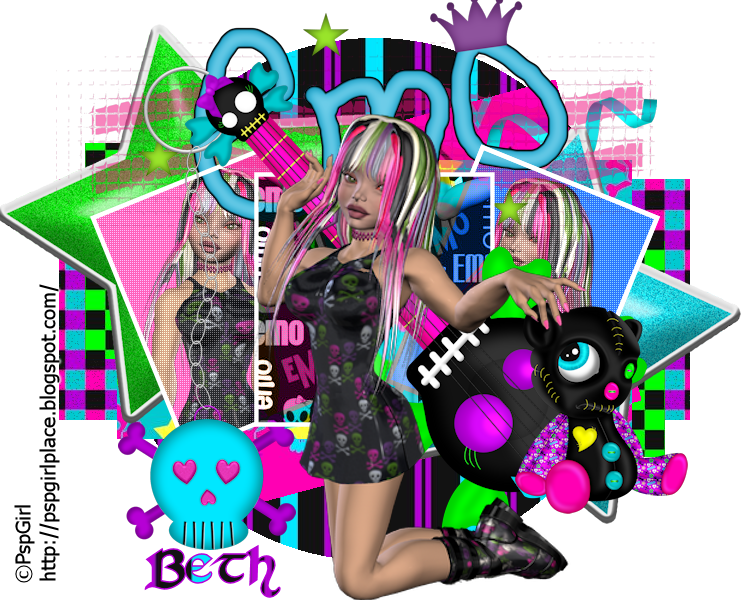
This Tutorial was written by BethB ON 4.26.12 AND IS MY OWN CREATION
Any resemblence to other tutorials is purely accidental
Written in
PSPX2
Any version should work
Do Not Claim as Your Own
Link Back to My Blog
Tools Needed
PTU Kit
Emo Attitude
Made By Freeks' Creations
Poser Tube
Template 124
Made By Rosey
Font
St.Charles Dark
Let's Get Started
Bring all the posers and template into psp
Delete watermark on template
Starting from the top
Using papers of choice from kit
Floodfill all your layers using different papers
Except raster2
On raster 2 layer
Use magicwand to select
Floodfill with a color from the poser/tube
I used pink
While still selected
Choose a poser and paste as new layer
Selections Invert Delete
Deselect
Now Repeat for frame on right side but dont floodfill leave as is
Paste another poser as new layer
Add a texture to both sides
Change blend mode to Luminance(l)
I used Penta.com/Colordot
Now drag the following elements into psp
E4,E6,E25,E27 & 28,E32 AND E36
C/P E36 as new layer Place near the top
Now paste E32 AS NEW LAYER Place at the top
Move this layer below your top frame layer but above all other layers
Next Paste E27 & 28 AS NEW LAYERS
Place E27 ON THE left side behind the frame
Now repeat for E28 BUT PLACE IT ON RIGHT SIDE
Refer to my tag above
Paste E6 as a new layer Place on right side & center it
nOW PASTE YOUR REMAINING ELEMENTS & pLACE THE WAY YOU LIKE BEST
I place E4 on right side but made to show that the poser is holding it
Add your copywrite
Drag Paper8 INTO PSP
Set it as your BG FG #b801d8
Font set to St.Charles Dark Size 48
Type out your name Convert to Raster
Merge all visible and save as png

Wednesday, April 25, 2012
Goth Queen
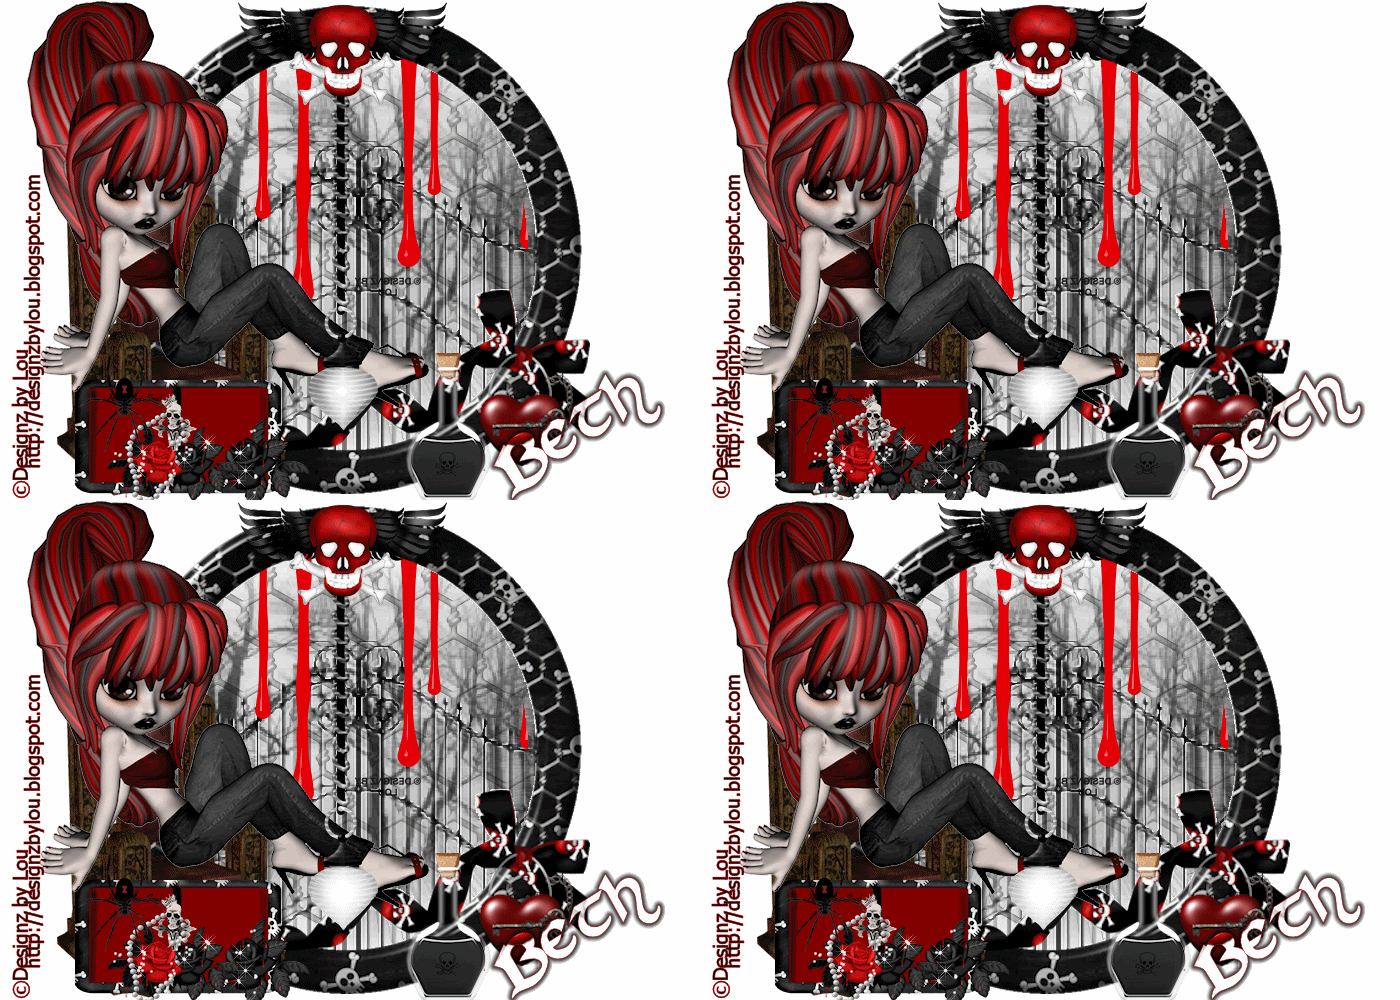
This Tutorial was written by BethB on 4.25.12 and is my own creation
Any resemblences to other tutorials is purely accidental
Any resemblences to other tutorials is purely accidental
Written in PSPX2
Any version should work
Do Not Claim as Your Own
Link Back to My Blog
Any version should work
Do Not Claim as Your Own
Link Back to My Blog
Tools Needed
Animationshop
Open a 700 x 500 blank image/canavas
Drag frame3 into psp
Copy/Paste as new layer onto canavas
Place in center & Resize to 65% and then again to 90%
Select center of frame using magicwand
Drag Ele50 into psp
Copy/Paste Ele50 as new layer
Selections Invert Hit delete on keyboard
Drag Ele7 into psp
C/P as new layer
Line up with bottom of frame
Hit delete Dont Deselect Yet!
Duplicate THE FENCE
Dtag Ele11 into psp
Repeat the above steps
Line blood up at the top inside frame
Hit Delete Now you can deselect
On layer palette Move all layers below frame layer
Drag Ele47 into psp
Paste
Resize to 60%
Place over on left side of frame at the bottom
Now if you are using same poser tube as me
Drag Vamp2 into psp
C/P as new layer
Resize down to 30% then again to 65%
Image Mirror
Place in the chair
Drag Ele3 into psp
C/P AS NEW LAYER
Resize down to 35% then again to 75%
Place in center of frame
Add other elements you may like and place at bottom
I added the book,spider,poison,sparkles and Ele1 and Ele27
Place Ele1 at the top of frame
Add your copywrite
Drag PP14 into psp
Set it as your BG on your material palette
FG to RED
Font to St.Charles Dark Size 24
Type out your name Convert to raster
You may have to resize it down
Jump down to very bottom layer
Floodfill with white
Open animationshop & have it ready
Edit Copymerged Paste into Animationshop as New Animation
Jump down to the Light layer
Open animationshop & have it ready
Using your freehand selection tool
Make a selection around the globe light
Go to Effects Illumination Effects Sunburst and Apply the settings below
Color-White B 70 Hor 50 Vert 41 Den 25 B 50 CLICK OK
sELECTIONS Select None
Edit Copymerged Paste into Animationshop after currentframe
Back to PSP
HIT UNDO TWICE
Repeat the above using these settings-B 75 Den 30 Bright 60 Hit ok
Select None
EdIT Copymerged
Paste into Animationshop after currentframe
Back to PSP
hIT UNDO ONCE
Repeat Sunburst but this time change Lightspot brightness to 80
RAYS Density 45 Brightness 65 and Circles 65
RAYS Density 45 Brightness 65 and Circles 65
DESELECT
Edit Copymerged Paste into Animationshop after currentframe
In animationshop select all frames Animation Frame Properties
Change speed to 20 or so
View Animation and save as gif
Subscribe to:
Posts (Atom)
LinkWithin

About Me

Grab My Blinkies


I CT for


Script Tester 4

My Stalker Hits
Blogs I stalk