My Avatars


Facebook Badge
followers
Popular Posts


Monday, May 7, 2012
FreakyGurl
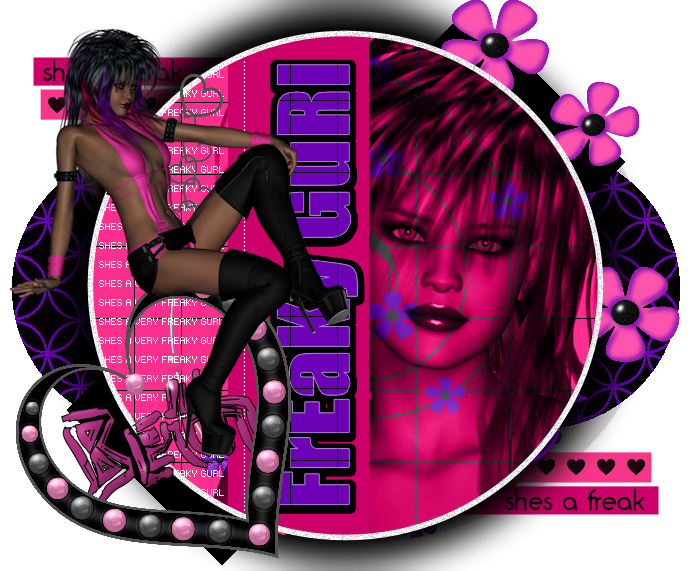
This Tutorial was written by BethB on 5.7.12 and is my creation.
Any similarity to other tutorials is purely accidentalWRITTEN in PSPX2
Any version should workDo Not Claim as Your Own
Link Back to My Blog
Tools Needed
PTU Kit Punk It & Hayden Poser
Made byDarlinsCreation
Template55
Made by Rose
@
http://tagtemplatesandmore.blogspot.com
Font used
PUNK@ DAFONT.COM
Delete the watermark
Starting from the bottom
Drag Paper12 or one of your choice into psp
Use magicwand to select the oval layer
Copy/Paste your paper as new layer
Selections Invert Select None
Next 2 layers up use a different paper of choice
I used Paper3
Make sure you delete the original layers as you go up
Next 7layers up Leave as is
On BG Circle Duplicate it and close duplicate out for now
Go To Blur Gaussian Blur and Apply these settings
Add a blur of 5.00
Now on duplicate
Drag paper7 into psp
Set paper as your bg on material palette
Floodfill your duplicate circle
Drag Flower3 into psp
Paste as new layer
Place on right side inbetween your blurred and duplicate circles
Use mine above for the placement guide
Drag Flowerdoodle into psp
Paste as new layer and center
If you purchased the poser tube that I used
Jump bk to your circle layer
Selections Select All Float Defloat
C/P the closeup poser as new layer and position on right side of circle
Selections Invert Select None
You should have sumthing like my tag above
Open the remaining layers
On your wordart layer FreakyGurl
Selections Select All Float Defloat
Drag paper of choice into psp
C/P as new layer onto wordart
Selections Invert SelectNone
Now jump back to original wordart layer
Select All once more
Selections Modify Expand by 4
Floodfill will black
Move this layer below your floodfilled layer
Selections Select None
Drag Heartchain into psp
Paste as new layer
Place over on the left side
Resize to 55%
Now c/p your original poser/tube as new layer
Position on the top part of the heart
Add your copywrite
Set your FG to Black BG to color from tube
Font set on Punk Size 110 Stroke 1
Type out your name
Convert to raster
Delete the white background & Merge all layers visible
Save as png
Subscribe to:
Post Comments (Atom)
LinkWithin
About Me

Grab My Blinkies


I CT for


Script Tester 4

My Stalker Hits
Blogs I stalk


0 comments:
Post a Comment