My Avatars


Facebook Badge
followers
Popular Posts


Sunday, July 8, 2012
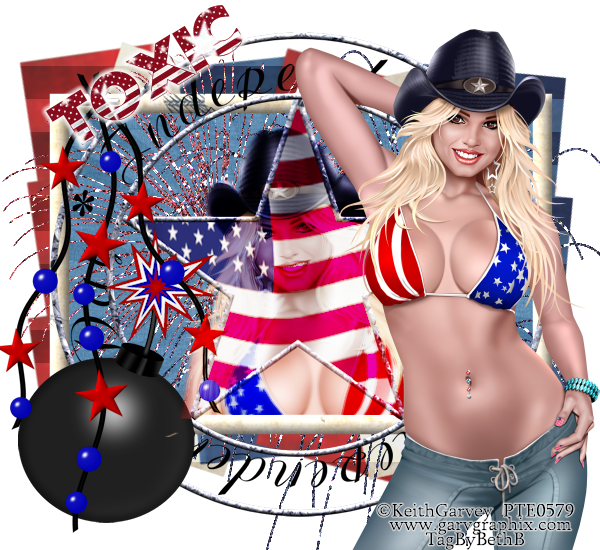
Independence Day
This tutorial is my creation & any resemblemces to others is purely accidental
Written by ToxicTutorialz on 7.8.12 in PSPX2
Written by ToxicTutorialz on 7.8.12 in PSPX2
Any version should work
Do Not Claim as Your own
Link Back to My Blog
Remember to SAVE Often!!!
You will need
Version of PSP
Version of PSP
Plugin used
VM Extravaganza/Transmission
*Optional*
VM Extravaganza/Transmission
*Optional*
Let's Begin with Opening a 600 x 550 blank image
Pull papers 2,3,& 4 into psp & minimize for now
Set Paper4 as your BG on material FG Null
Set your preset shape to rectangle
Draw out a small rectangle
Convert to raster layer
Repeat using paper2
Place beside first rectangle Convert to raster
Repeat once more using paper3 Convert to raster
Now repeat each paper once more -Placing them beside each other or on top of each other
Merge all visible & Duplicate twice
Place duplicate one under original,then repeat with duplicate 2 placing under duplicate 1
Use mine above for placement
Use mine above for placement
Merge visible once more
Duplicate again
Apply plugin transmission ( default settings) to original layer
On your duplicate layer
Are you still with me!!! lol
Set Paper 2 as your FG Width 20
Draw out a large rectangle Convert to raster layer
Add an inner bevel of Width 3,Smoothness 50,Depth 5,Amb 39,Shine20,Angle 315,INTENS35,ELEVATION 30
Select center of rectangle with magicwand
C/P a paper of choice as new layer Selections Invert Delete Deselect
I used paper11
Bring your tube into view
C/P the 2nd closeup as new layer if you used same tube as me it would be layer3
Place in center of frame
Resize to 70%
Use selection tool to make selection around bottom of tube
Hit delete on keyboard
Duplicate and close off for now
On the original tube layer
Adjust blur Gaussian blur of 4
Open duplicate and set blendmode to soft light
Duplicate once more
Pull E2,E14,E19,E31 & 32 INTO PSP
C/P E31 as new layer
Place inside frame on left side
Repeat with E32 Place on right side inside frame
Move these layers below your tube layers
Now paste E14 as new layer & place in center of image
Now here comes the tricky part
On layer palette
Move Tube duplicate 1 and 2 above your E14
Move original tube layer below frame,fireworks and E14 layers
* Hope that made sense*
C/P main tube as new layer & Place on right side
C/P E19 as new layer Resize to 55% Place on bottom left side
Paste E2 as new layer Place on left side on frame
Add your copywrite
Set your BG to paper of choice-I used P7 Scale 125 Angle 0
FG Null
Font set on USStarsNStripes Size 20
Type our your name Convert to raster layer
Add a gradient glow of 5
Merge all visible
Save as png
Subscribe to:
Posts (Atom)
LinkWithin
About Me

Grab My Blinkies


I CT for


Script Tester 4

My Stalker Hits
Blogs I stalk