My Avatars

Facebook Badge
followers
Popular Posts


Saturday, March 24, 2012
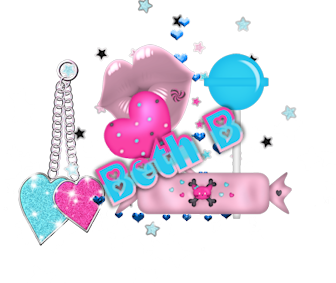
Emo Style

This Tutorial was written by BethB on 3.24.12 and is my own creation
Any resemblences to other tutorials is purely accidental
Any resemblences to other tutorials is purely accidental
Was written in PSPX2
Any version should work
Do Not Claim as Yours
Link Back to My Blog
Any version should work
Do Not Claim as Yours
Link Back to My Blog
Tools Needed
Tube used
VeryMany @ PFDDo Not Use without Proper License
VeryMany @ PFDDo Not Use without Proper License
Plugin used
EC4/Weave
EC4/Weave
Ok Let's get started
Open template in psp
Delete watermark
Close off the top layers
till you get to circle layer
till you get to circle layer
Use magicwand to select circle layer
Bring Paper6 into psp
Paste as new layer onto circle
Selections Invert Delete
Selections Contract by 10
Bring Paper12 into psp
Paste as new layer Delete Select None
Move this paper12 layer below paper6 layer
Add a small dropshadow of choice
Delete the original circle layer
On raster5 layer
Magicwand Select
Bring Paper11 into psp
Paste as new layer
Selections Invert Delete Select None
Repeat the bove steps for Raster4 & Duplicate4 layers
using same paper
using same paper
Add a small dropshadow of 1,-1,50,5,Color black to both layers
Ok now it's time to have sum fun
On Raster6
Use magicwand to select
Copy/Paste your tube as new layer
Resize to 50%
Delete
Select None
Plugins
Eyecandy4000
Weave with these settings


7.43,1.78,50,50,21.45,fill color black,keep original image ticked
Change BlendMode to Multiply
Paste your tube as new layer
I resized mine to 50% then again to 95%
Place on left side of canvas
Bring EE30 into psp
Paste as new layer
Resize to 55%
Place on right side on circle layer
Move EE30 layer below the bottom square layer but above the top sqaure
Bring EE35 into psp
Paste
Resize to 40%
Place on bottom right side
Refer to mine above
Bring EE3 into psp
Paste Resize to 55%
Place on right side of middele square
Bring Elements 5 & 7 into psp
Paste Resize to 40%
Place EE5 on left side of tube
Place EE7 on bottom right side on shoe
Bring Elements17 & 25 into psp
Paste EE25 as new layer
Resize to 40% Place on right side at top
Use your picktool grabbing center control
Pull down
Paste EE17 as new layer & resize to 40%
Place on LEFT CORNER OF EE17
Set your font to The Quiet Scream Size24 BG Black FG Null
Type out your name
Convert to raster
Place where you like
add your copywrite
merge all visible
save as png
Subscribe to:
Post Comments (Atom)
LinkWithin
About Me

Grab My Blinkies


I CT for


Script Tester 4

My Stalker Hits
Blogs I stalk


0 comments:
Post a Comment