


Monday, May 7, 2012
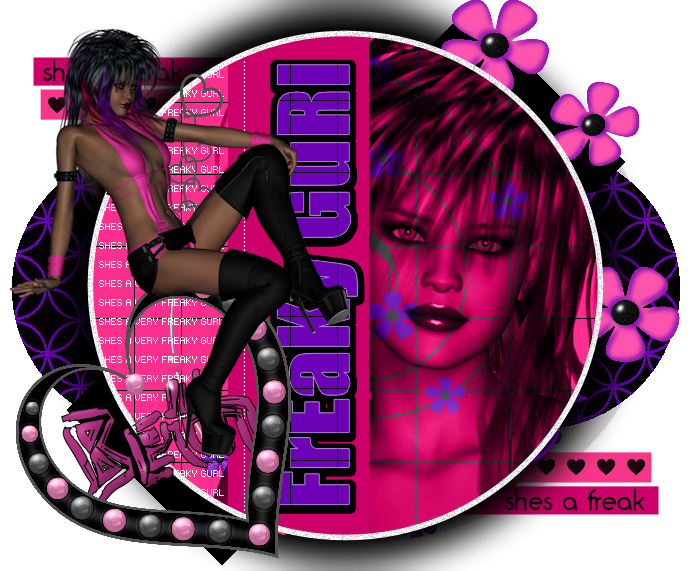
FreakyGurl
This Tutorial was written by BethB on 5.7.12 and is my creation.
Any similarity to other tutorials is purely accidentalWRITTEN in PSPX2
Any version should workDo Not Claim as Your Own
Link Back to My Blog
Tools Needed
PTU Kit Punk It & Hayden Poser
Made byDarlinsCreation
Template55
Made by Rose
@
http://tagtemplatesandmore.blogspot.com
Font used
PUNK@ DAFONT.COM
Delete the watermark
Starting from the bottom
Drag Paper12 or one of your choice into psp
Use magicwand to select the oval layer
Copy/Paste your paper as new layer
Selections Invert Select None
Next 2 layers up use a different paper of choice
I used Paper3
Make sure you delete the original layers as you go up
Next 7layers up Leave as is
On BG Circle Duplicate it and close duplicate out for now
Go To Blur Gaussian Blur and Apply these settings
Add a blur of 5.00
Now on duplicate
Drag paper7 into psp
Set paper as your bg on material palette
Floodfill your duplicate circle
Drag Flower3 into psp
Paste as new layer
Place on right side inbetween your blurred and duplicate circles
Use mine above for the placement guide
Drag Flowerdoodle into psp
Paste as new layer and center
If you purchased the poser tube that I used
Jump bk to your circle layer
Selections Select All Float Defloat
C/P the closeup poser as new layer and position on right side of circle
Selections Invert Select None
You should have sumthing like my tag above
Open the remaining layers
On your wordart layer FreakyGurl
Selections Select All Float Defloat
Drag paper of choice into psp
C/P as new layer onto wordart
Selections Invert SelectNone
Now jump back to original wordart layer
Select All once more
Selections Modify Expand by 4
Floodfill will black
Move this layer below your floodfilled layer
Selections Select None
Drag Heartchain into psp
Paste as new layer
Place over on the left side
Resize to 55%
Now c/p your original poser/tube as new layer
Position on the top part of the heart
Add your copywrite
Set your FG to Black BG to color from tube
Font set on Punk Size 110 Stroke 1
Type out your name
Convert to raster
Delete the white background & Merge all layers visible
Save as png
Sunday, May 6, 2012
TwilightMoon
This Tutorial was written by BethB on 5.6.12 and is my creation
Any similarity to other tutorials is purely accidentalWritten in
PSPX2Any version should work
Do Not Claim as Your Own
Link Back to My Blog
Tools Needed
PTU Kit
My Dark WeddingMade by Freeks Creations
Poser Tube included
GrungeMask1
made byBoundlessBliss
Her site is no longer available (sorry)
Font used
CantaraGoticaAnimationshop
Open a 600 x 500 blank canvas
Drag Paper10 from kit into psp
Paste as new layer
Make sure you have mask in psp
Layers New Mask Layer From Image
Apply your mask
On Layer palette
Right click mask layer & Merge group
Pull E15 into psp
Paste as new layer
Position in center of canavas
Drag poser2 into psp
Copy/Paste as new layer
Place on right side of E15
Drag E25 into psp
Paste
Resize to 50%
Place behind trellis
Drag E36 into psp
Paste and resize to 50%
Place behind trellis but down a bit so you can see the moon
Now drag E20 into psp
Paste as new layer & Place behind trellis also
Now add other elements you may like and place them at the bottom
I used e13, E23,& E24
yOU WILL NEED TO RESIZE
Add your copywrite
Go to the very bottom layer
Floodfill with black or white
Whichever you like bestSet your BG to Paper1 FG Null
Font set on CantaraGotica Size 18 Stroke1
Type out your name Convert to raster
place where you like
Go to Edit CopyMerged
Open Animationshop
Paste as New Animation
Back to PSP
ON your moon layer
Move opacity bar down to 85
Edit CopyMerged
Animationshop
Paste after currentframe
Back to PSP
Move Opacity down to 75
Edit CopyMerged
Animationshop
Paste after currentframe again
Back to PSP
Move Opacity down to 55 this time
Edit CopyMerged
Aniamtionshop
Paste after currentframe
Back to PSP once more
Repeat Opacity but this time to 35
Edit CopyMerged
Aniamtionshop
Paste after currentframe
Now in animationshop
Edit SelectAll
Animation Frame Properties
Set speed to 80
View Animation
Save as gif
Subscribe to:
Posts (Atom)