My Avatars


Facebook Badge

followers


Friday, March 9, 2012
100% Royal Slut
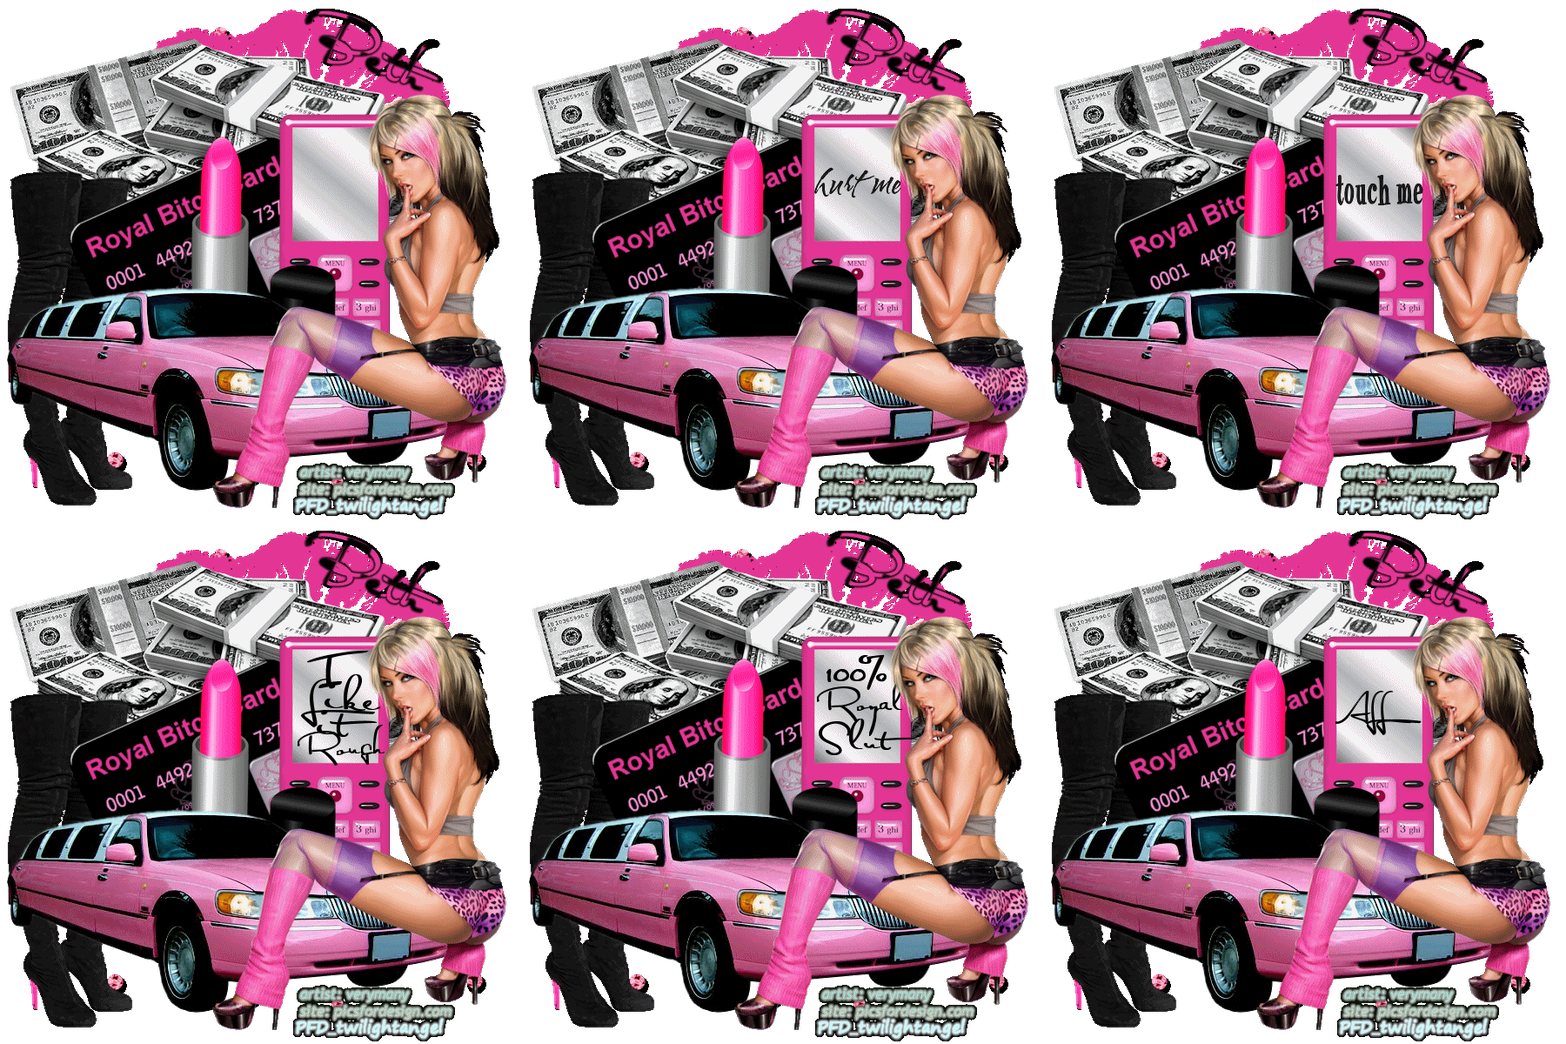
This Tutorial wa written by BethB on 3.9.12 and is my own creation
Any resemblence to other tutorials is purely acidental
This is a lengthy tutorial so please have sum patience and take breaks
YOu will need
PSP X2
Animationshop
Tube used is by VaryMany from PFD
PTU Kit used RoyalBitch by FreeksCreations
Brushes of choice or make your own
Font called Al Sandra
Pull E34 into psp from kit
Paste as new layer
Now pull E22 INTO PSP
Paste on image
Move to top right side
Pull E15 into psp
Paste onto image
Move to the left top side
Pull E3,E14,E16,E2,E19 & p4 into psp
Paste E2 as new layer
Use your picktool on centernode and turn downwards
Place on the money
Now paste E14 as new layer
Resize to 50% Place in center of creditcard
You can use my tag above for placement
Paste E19 and place on left side of credicard
Now paste E16 & place on right side of lipstick
Paste your tube as new layer & resize to your liking
Paste E3 & place at bottom of image
Add your copywrite and place at bottom
Before we animate we are going to add our name
Set your font to Al Sandra Size 24,BG P4 FG Null
Type out your name & convert to raster layer
Place at top of image on right side
Add a slight gradientglow if you like
Now time to have fun
On your cellphone layer
Using same font but change size to 10 and bg color to black
Type out some wordart
Rename the wordart to brush1
Repeat using different wordart or brushes makign sure to rename your layers
I have a total of 8 brush layers
Close off all brush layers
Edit Copymerged
Open animationshop
Paste as new animation
Back to psp
Open brush layer1
Edit Copymerged
Paste into aniamtionshop after currentframe
Back to psp
Close off brushlayer1
Open brushlayer2
Edit Copy Merged
Paste into animatioshop after currentframe
Back to psp
Keep repeating the above steps til you have all your brushlayers and image in aniamtionshop
I ended up with 9 frames total in aniamtionshop
In animationshop
Edit Select All Animation Frame Properties
Set speed to 30- View Animation
File Save as gif

Thursday, March 8, 2012
Radioactive


This Tutorial was written by BethB on 3.8.12 and is my own creation
Any resemblence to other tutorials is purely accidental
You will need
PSP X2
Tube used by KeithGarvey which you can buy at PTE
FTU KITS USED Misfit Emo BY VARIOUS Artists which you can download over on the misfits blog
Font used AL Sandra
Mask used WSL_Mask362
Plugin MuraMeisters/Copies
Brush of choice i USED A BRUSH BY yARROW AND CANNOT SHARE
Pull a paper of choice from any of the kits you downloaded
Paste as new layer onto image
I used Paper8 from the ADM kit
I am using a tube which has 3 images
Copy & Paste your closeup tube as new layer onto image
Place in center of image
Resize to 50%
Effect/Plugins Muras/Copies & Apply with these Settings

Set the Blend Mode to Luminance(L) & Opacity to 62
Click on your top layer which is the copies of your tube layer
Right click and mege down
Layers New Mask Layer from Image
Apply your Mask
Right click on your mask layer & merge group
From the CM_EmoMisfit kit Pull CB3 into psp
Paste as new layer onto image
Resize to 65%
From the MFE Kit, Pull MetalScrew into psp
Paste as new layer
Resize to 45% Place at the top of the torn paper
Paste your maintube as new layer
Move over to the left side
Add new layer above tube layer
Apply your brush SIZE 280 DEPENDING
Pull the Wire into psp from the CRD Kit
Paste as new layer onto image
Now pull the bomb 3 into psp from CM KIT
Paste onto image Resize to 50%
Place on bottom right corner fo torn paper
Add other elements of your choice
Add your copywrite
Jump down to your mask layer
Adjust Hue & Sat Colorize
Change color to one of choice
Set your font to Al Sandra Size 30 BG Black FG #be5459 OR ONE OF YOUR OWN
tYPE out your name
Save as png
Now for the Avatar
Open a 160 x 160 blank image
From your finished tag
C/P the mask layer & paste onto your new blank image
Paste your tube
I also added the bomb and resized to 40%
Add your initial
Add your copywrite
Save as jpeg
Subscribe to:
Posts (Atom)
LinkWithin

About Me

Grab My Blinkies


I CT for


Script Tester 4

My Stalker Hits

Blogs I stalk

